
Let´s Share a Christmas Cookie
♥
Written by: Isabella Petersen
It’s Christmas time, and even though this past year has been full of changes, Christmas always seems to come around with ferocity. In this stressful time, it is important to prioritize some Christmas-cozy-time. That little break from the business and stress of everyday life makes christmas so special and heartfelt. There’s delicious baking, classic Christmas food, decor, and music with all the people you hold dear.
Upon graduating this year from my education in health and nutrition– where I focused on food and business management– inevitably, I had to start looking for a job. After searching for a little while, I ended up landing one at a little cafe. However, this job and the big changes that accompanied it also brought along some stress, especially with it being around December. To destress myself, I decided to do some baking. When I am cooking and baking, I can truly relax. I wanted to bake something I would enjoy, but also wanted something a bit different from the usual Christmas cookies. I am very much a foodie and love coming up with new recipes. I decided on mixing honeycomb dough with ‘pebernød’ dough (a classic Danish christmas bake).
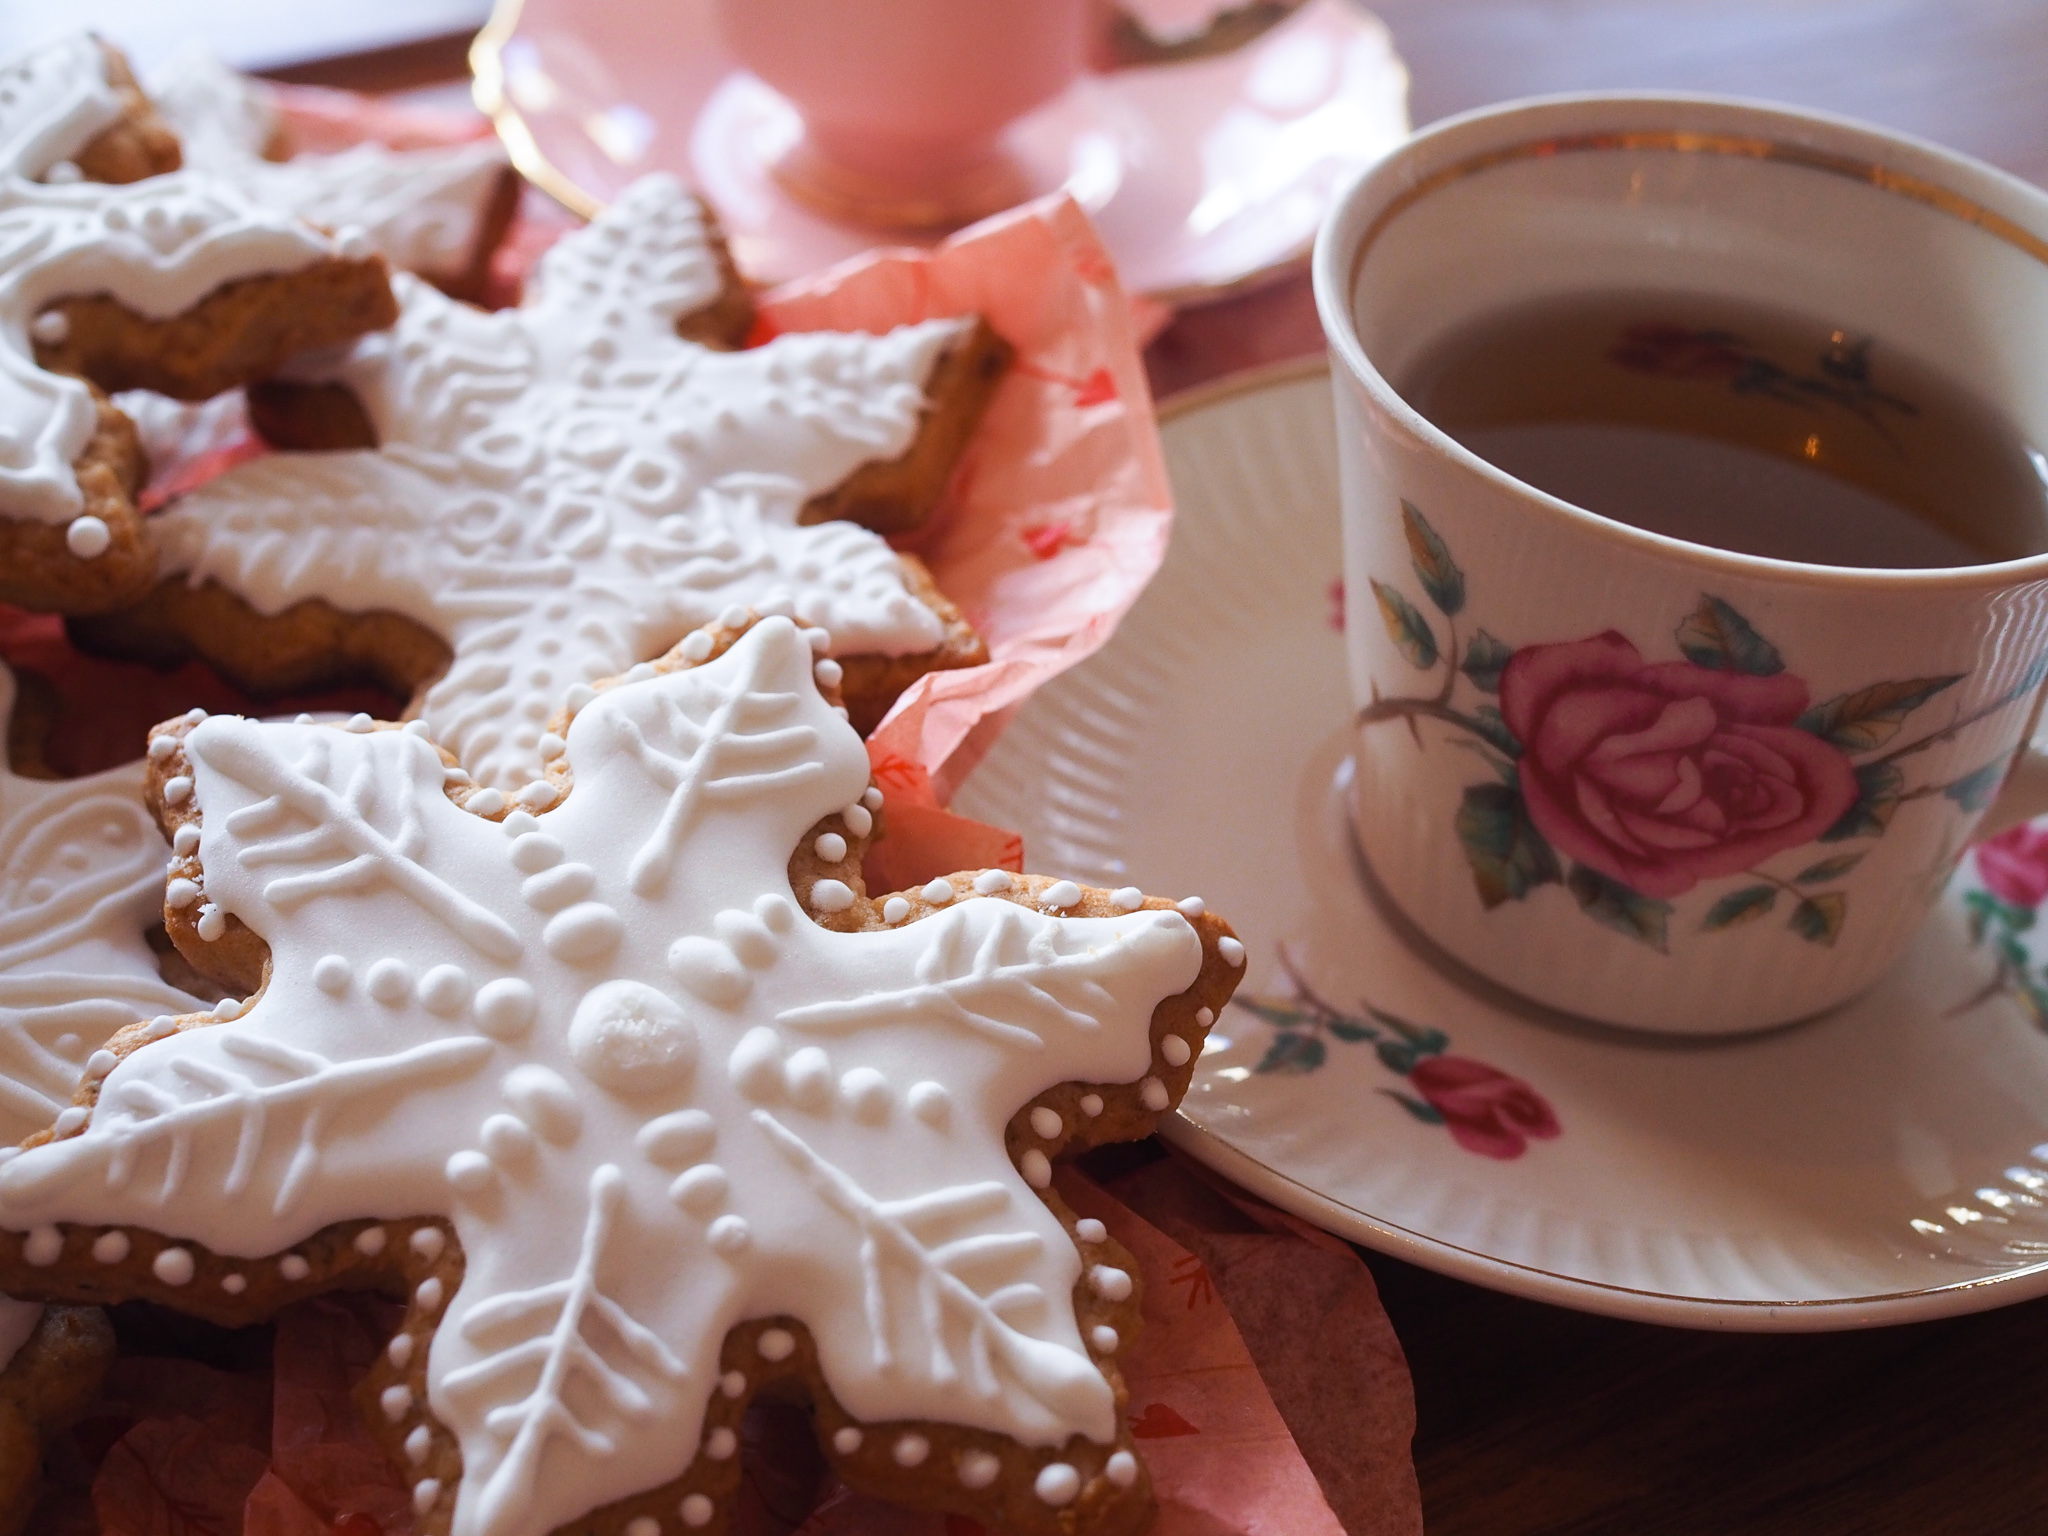
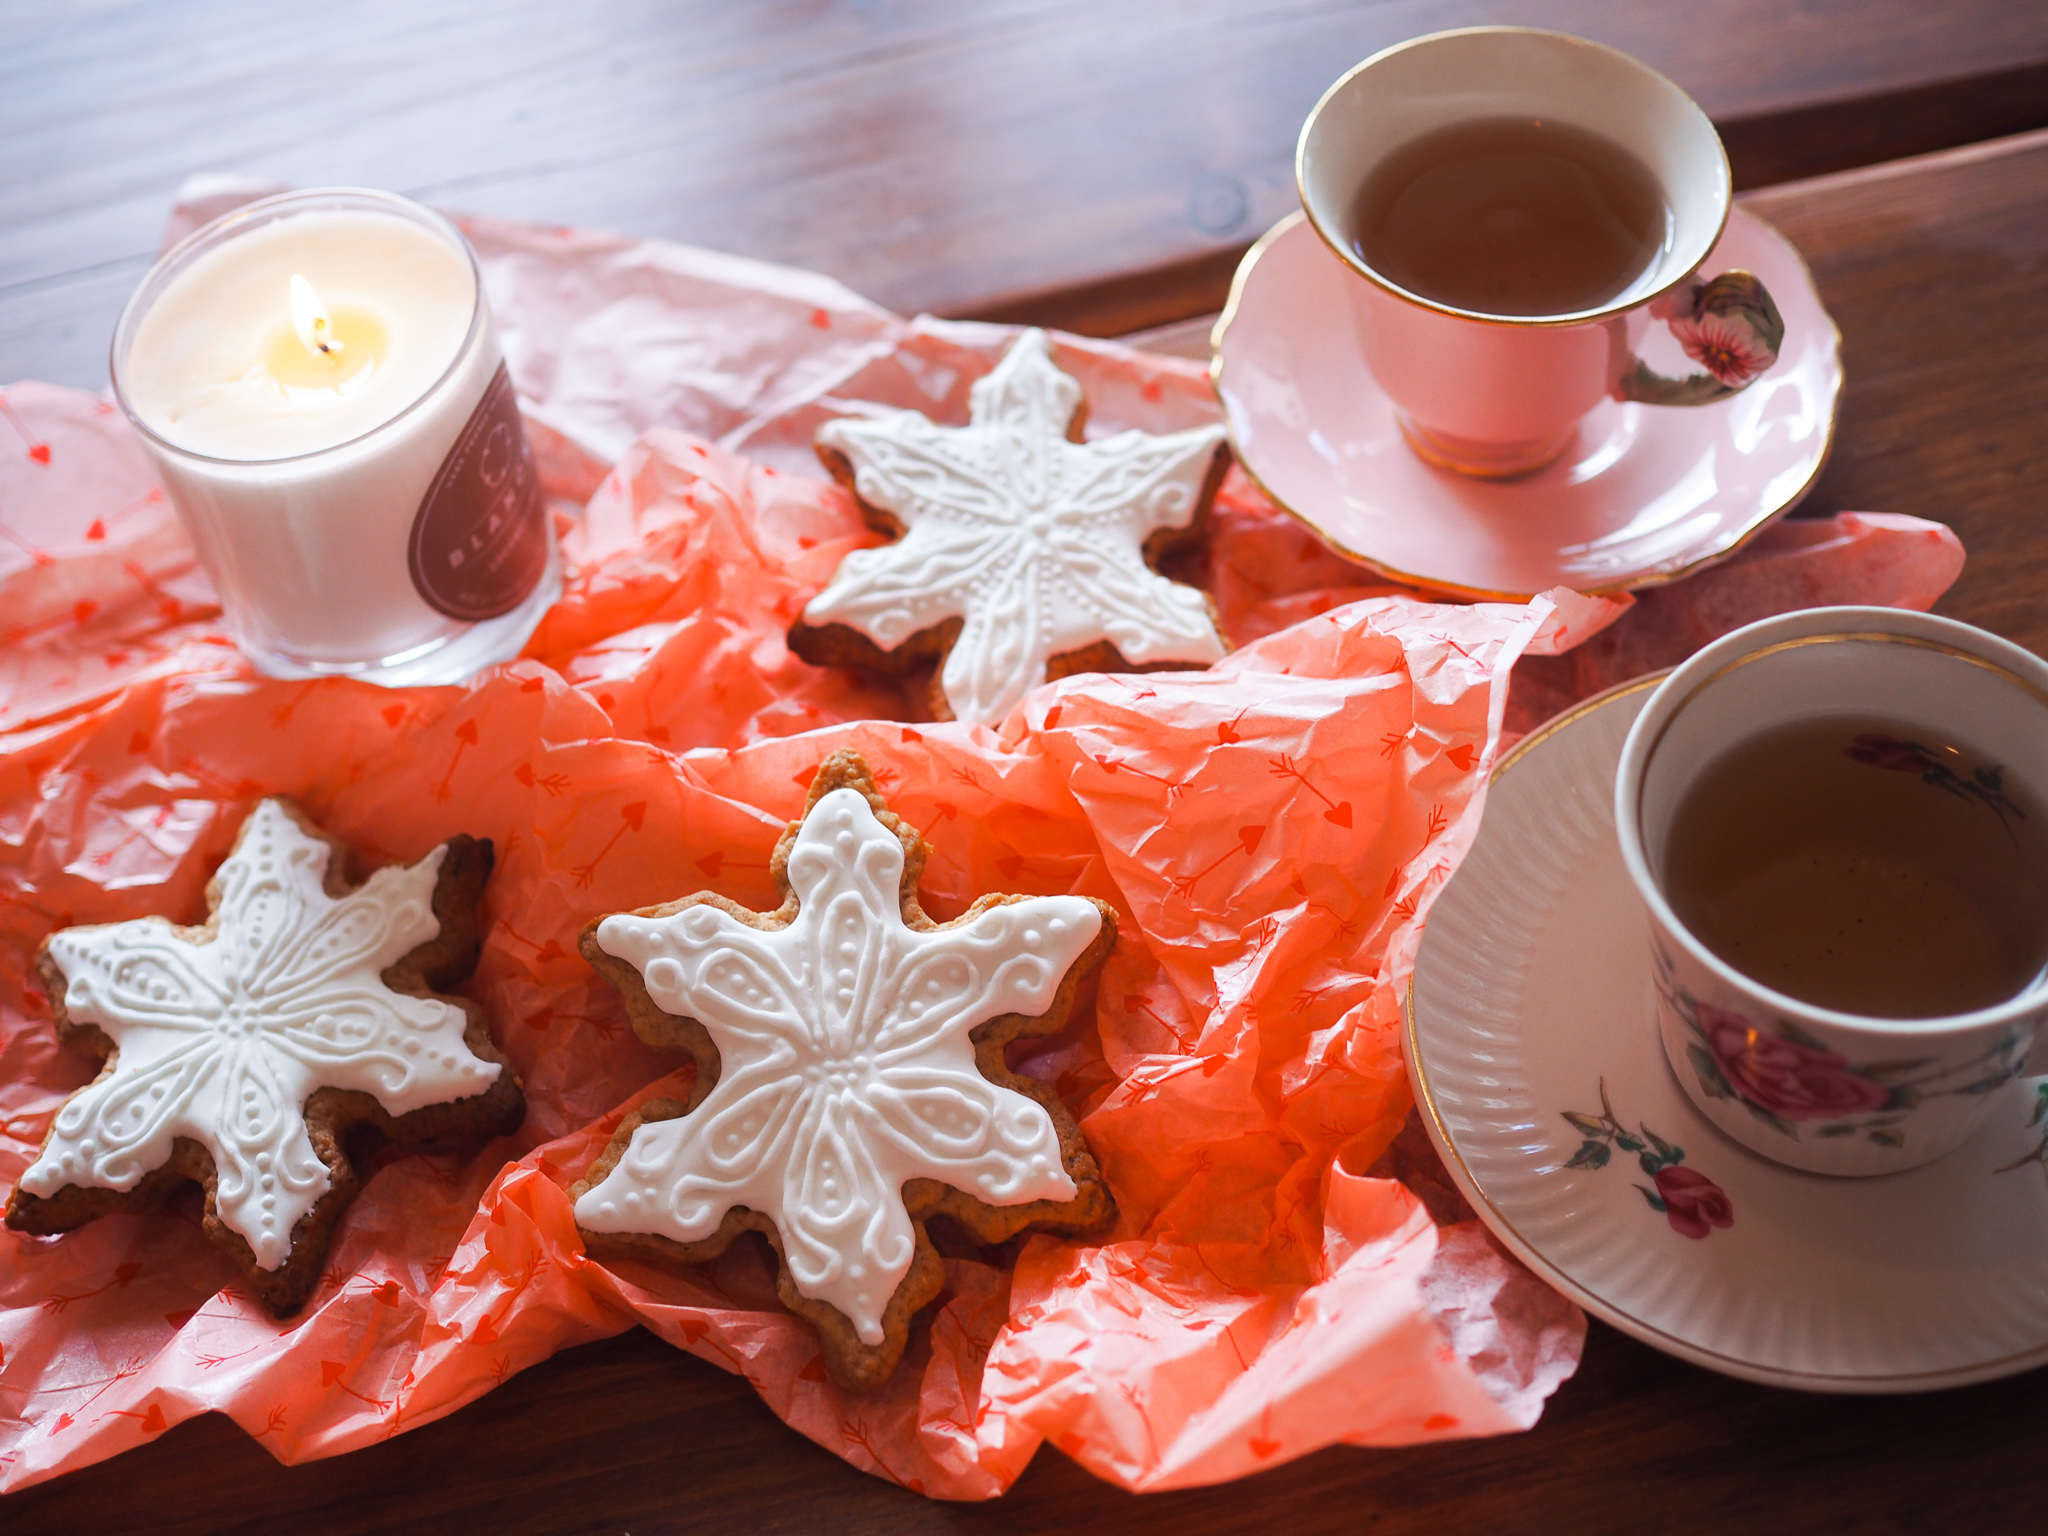
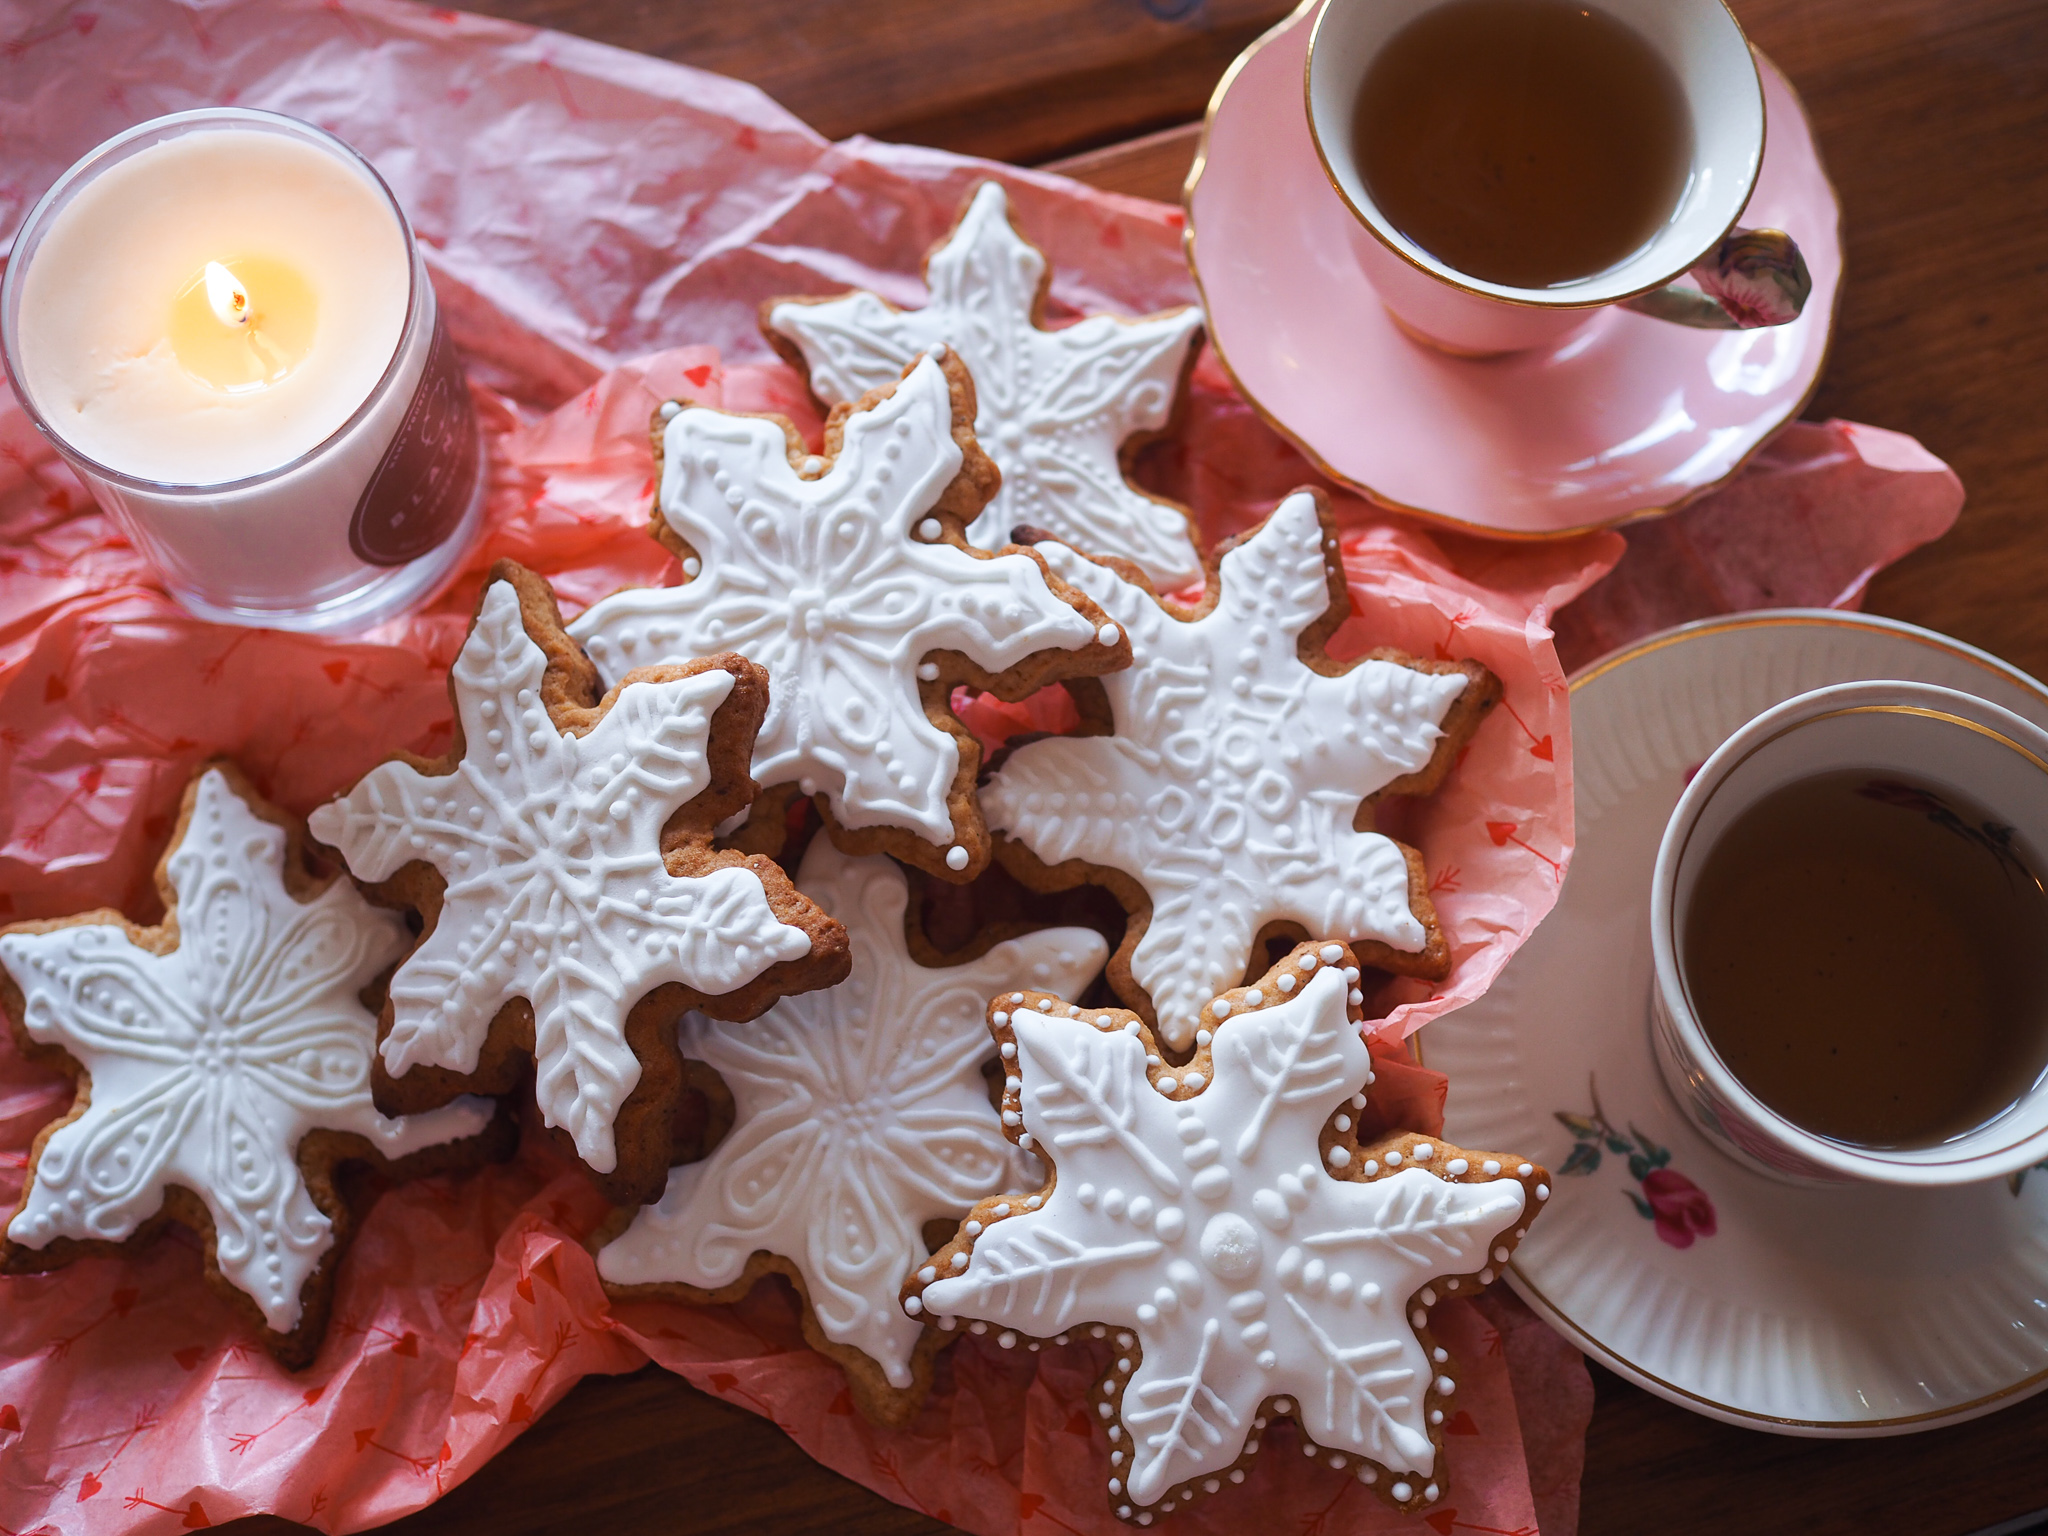
In my family, we have a tradition of exchanging home-baked Christmas cookies. But when my Grandmother fell ill, and was not able to bake this year, I decided to do something to try and cheer up my family. I created a recipe by mixing together the two different doughs and added another creative aspect, I ‘painted’ snowflakes on them as well.

Ingredients:
300 g Honey ♥ 225 g Brown Sugar ♥ 225 g Butter ♥ 1 Egg ♥ 775 g Plain Flour ♥ 1 tsp Baking Soda ♥ 1 tsp Cardamom ♥ 1 tsp Vanilla Extract ♥ 1 pinch Nutmeg ♥ Freshly Ground Pepper (optional) ♥ 1 tsp Cinnamon
Preparation:
Warm the honey, brown sugar, and butter in a pot. Add the baking soda and brown sugar. Allow the mixture to bubble up. Cool it down for around 15 minutes. Then add egg, flour, and vanilla extract into the mixture. Knead the dough together.
Leave the dough to rest for about 30 minutes in a warm place.
Now roll out the dough into the thickness you want your lovely cookies to be. Mine were around 50mm.
Using your form of choice, stick them out.
Baking:
Preheat the oven to 180 degrees. Leave them in for around 10-12 minutes or until golden.
When the cookies are finished, they need to cool off completely before decorating. Meanwhile you can create delicious royal icing, which you will be using to paint them with.
Ingredients:
50 g. Pasteurized Egg Whites ♥ 275 g. Powdered Sugar ♥ ½ tsp. Vanilla Extract
INSTRUCTIONS:
Mix the egg whites and vanilla extract in a bowl. Sift the powdered flour in and mix until the mixture is uniform. Use either hand power or a low speed hand mixer to prevent air bubbles from forming. Depending on what the icing will be used for, you can add more or less powdered sugar.
The right texture for fine-line decorations is reached when the tops of the icing remains standing when you lift the whisk. If you need it to fill in parts on the cookies, you will want it a bit thinner (the tops need to fall apart and disappear after 5-10 seconds).
Also, if you want the icing to be in a different color simply add a few drops of food-coloring.


Snuggle Up and Enjoy!
Now all there is left is to enjoy your beautiful Christmas cookies and share them with the people you love.
Let´s Share a Christmas Cookie
♥
Written by: Isabella Petersen
It’s Christmas time, and even though this past year has been full of changes, Christmas always seems to come around with ferocity. In this stressful time, it is important to prioritize some Christmas-cozy-time. That little break from the business and stress of everyday life makes christmas so special and heartfelt. There’s delicious baking, classic Christmas food, decor, and music with all the people you hold dear.
Upon graduating this year from my education in health and nutrition– where I focused on food and business management– inevitably, I had to start looking for a job. After searching for a little while, I ended up landing one at a little cafe. However, this job and the big changes that accompanied it also brought along some stress, especially with it being around December. To destress myself, I decided to do some baking. When I am cooking and baking, I can truly relax. I wanted to bake something I would enjoy, but also wanted something a bit different from the usual Christmas cookies. I am very much a foodie and love coming up with new recipes. I decided on mixing honeycomb dough with ‘pebernød’ dough (a classic Danish christmas bake).
In my family, we have a tradition of exchanging home-baked Christmas cookies. But when my Grandmother fell ill, and was not able to bake this year, I decided to do something to try and cheer up my family. I created a recipe by mixing together the two different doughs and added another creative aspect, I ‘painted’ snowflakes on them as well.


Ingredients:
300 g Honey ♥ 225 g Brown Sugar ♥ 225 g Butter ♥ 1 Egg ♥ 775 g Plain Flour ♥ 1 tsp Baking Soda ♥ 1 tsp Cardamom ♥ 1 tsp Vanilla Extract ♥ 1 pinch Nutmeg ♥ Freshly Ground Pepper (optional) ♥ 1 tsp Cinnamon
Preparation:
Warm the honey, brown sugar, and butter in a pot. Add the baking soda and brown sugar. Allow the mixture to bubble up. Cool it down for around 15 minutes. Then add egg, flour, and vanilla extract into the mixture. Knead the dough together.
Leave the dough to rest for about 30 minutes in a warm place.
Now roll out the dough into the thickness you want your lovely cookies to be. Mine were around 50mm.
Using your form of choice, stick them out.
Baking:
Preheat the oven to 180 degrees. Leave them in for around 10-12 minutes or until golden.
When the cookies are finished, they need to cool off completely before decorating. Meanwhile you can create delicious royal icing, which you will be using to paint them with.
Ingredients:
50 g. Pasteurized Egg Whites ♥ 275 g. Powdered Sugar ♥ ½ tsp. Vanilla Extract
INSTRUCTIONS:
Mix the egg whites and vanilla extract in a bowl. Sift the powdered flour in and mix until the mixture is uniform. Use either hand power or a low speed hand mixer to prevent air bubbles from forming. Depending on what the icing will be used for, you can add more or less powdered sugar.
The right texture for fine-line decorations is reached when the tops of the icing remains standing when you lift the whisk. If you need it to fill in parts on the cookies, you will want it a bit thinner (the tops need to fall apart and disappear after 5-10 seconds).
Also, if you want the icing to be in a different color simply add a few drops of food-coloring.
Snuggle Up and Enjoy!
Now all there is left is to enjoy your beautiful Christmas cookies and share them with the people you love.
Best view you can see is near Lakes !
Like!! I blog frequently and I really thank you for your content. The article has truly peaked my interest.
I like the valuable information you provide in your articles.
I like the valuable information you provide in your articles.